
For Earth Day 2016, Glumac Sacramento’s Green Team decided to do something that would have both an immediate and lasting impact on our office, employees, and the Earth. So we decided to plant a garden filled with some of our favorite fruits, vegetables, and herbs. To get started, staff donated what they could to keep the garden thriving, and in the end we all get to share the fruits (and veggies) of our labor!
Here is a brief synopsis of how we did it, none of which would have been possible without the hard work and good will of our staff!
Plan your garden.
If you’re going to create a shared garden, the best advice we can give is to take advantage of the shared experience of your team. Thankfully, Glumac Sacramento was not short on experience, nor on people willing to lend a hand. We decided to dedicate two weekends, one to get the planter boxes ready and another to plant. Planting only took up one Sunday morning, so all up this was a 3-day endeavor.
Get the materials.
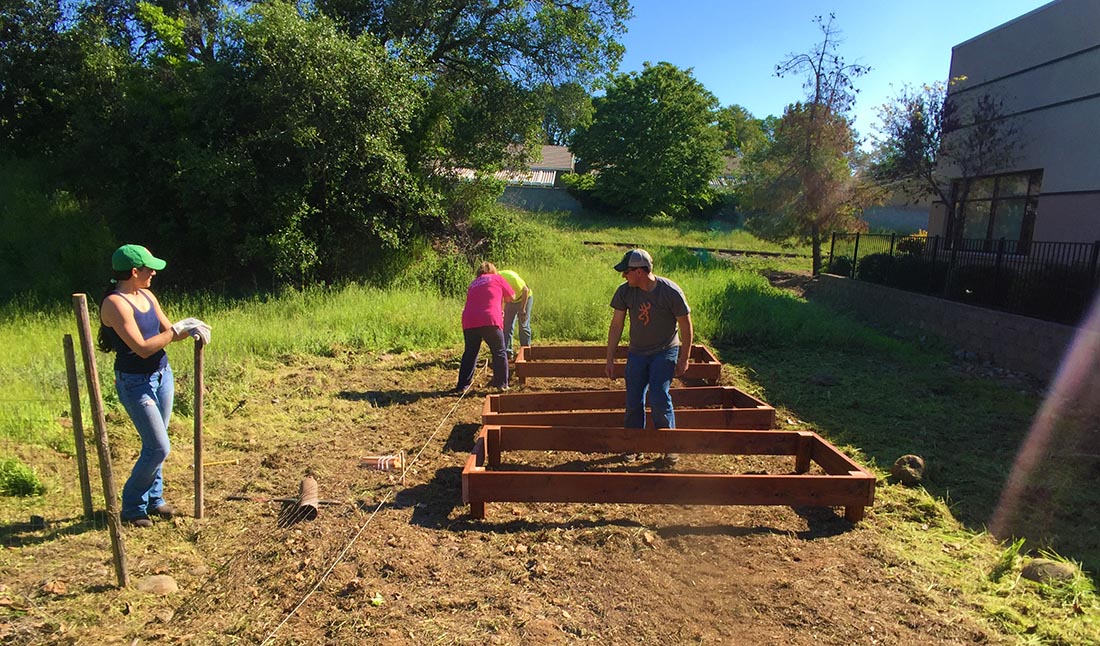
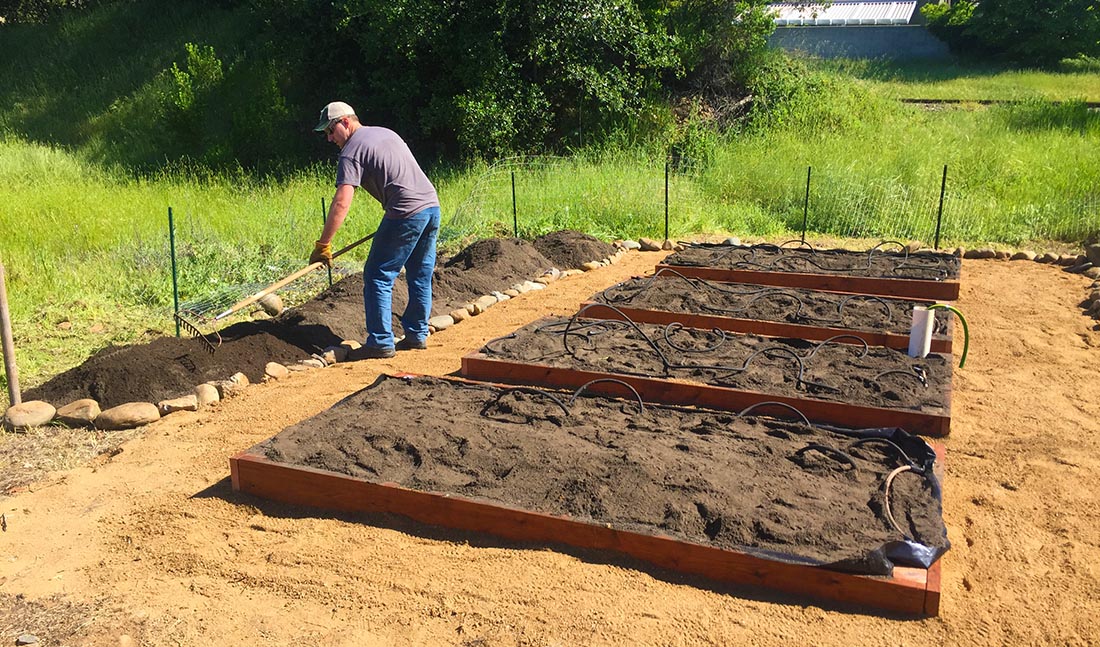
Fortunately we had pretty much all of the tools we needed, including a rototiller, wheel barrows, saws, etc. We had soil delivered by truck (to cut down on cost and packaging materials), as well as decomposed granite for the walkways. Being organic was of the utmost importance, so we also set up a compost area, which we will use to fertilize the garden. We used redwood for the planter boxes, and built them ourselves. This was not only a cost-saver, but also allowed us to customize them to the exact size we needed. There was already a spigot in place at the site of the garden, so we bought the materials required to make our own drip system, fully equipped with a timer (there is a slight benefit to having an office full of engineers…). Finally, we picked up some wire fencing to help defend against curious critters—you’ll find no pesticides in our garden!
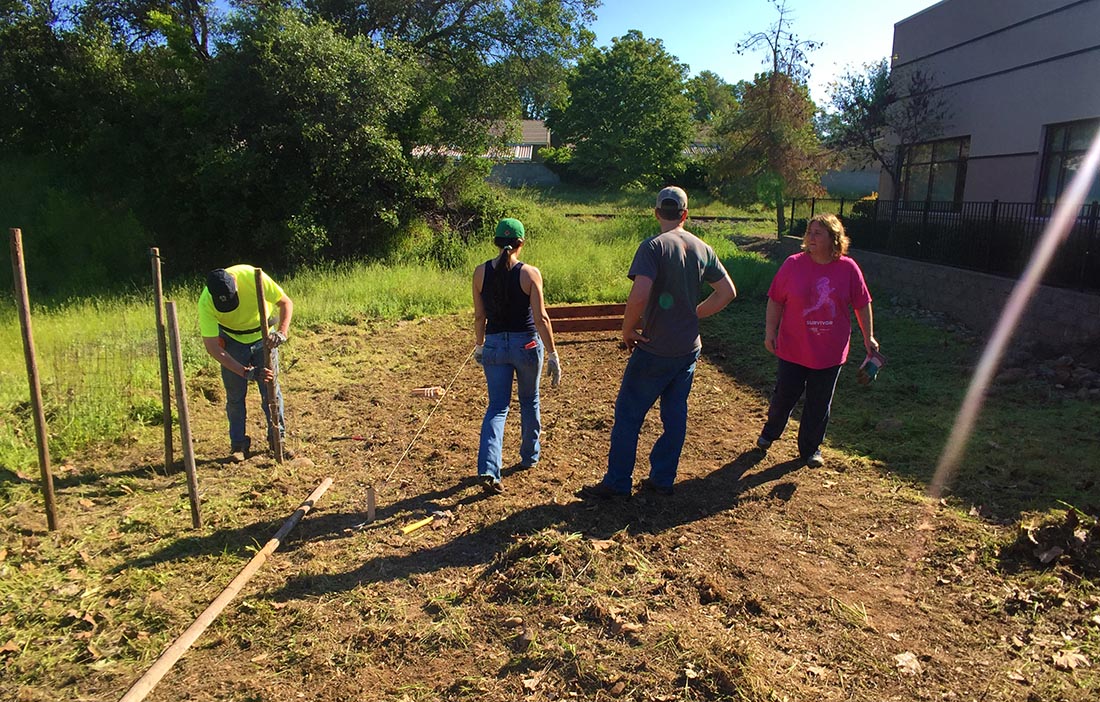
Build the garden.
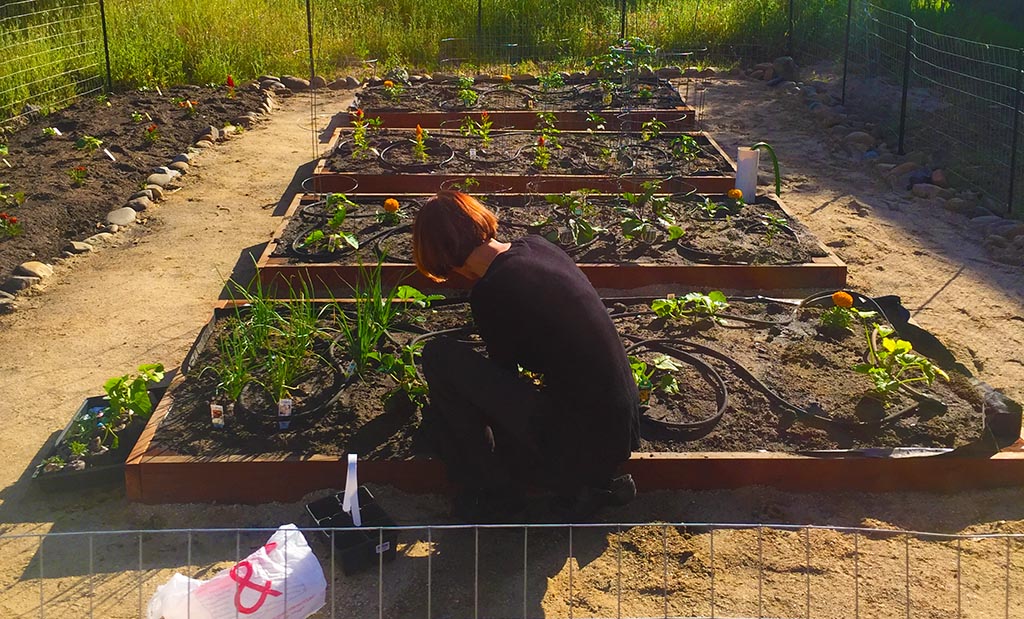
Rally the troops! Building a garden from scratch is no easy feat, especially if the ground is as dry and rocky as ours here in Northern California. The ground we were working with only seemed hospitable to weeds, so we had to start by using a rototiller and removing what seemed like 18,000,000 rocks (probably more like 500). These rocks eventually made their way back to the garden, acting as a liner along the bottom of the beds to keep in the soil. Once the ground was cleared, we placed, leveled, and lined the beds. Soil was then added and packed down as much as possible. Believe it or not, everything up to this point was done in just ONE DAY!
Finish prepping the beds.
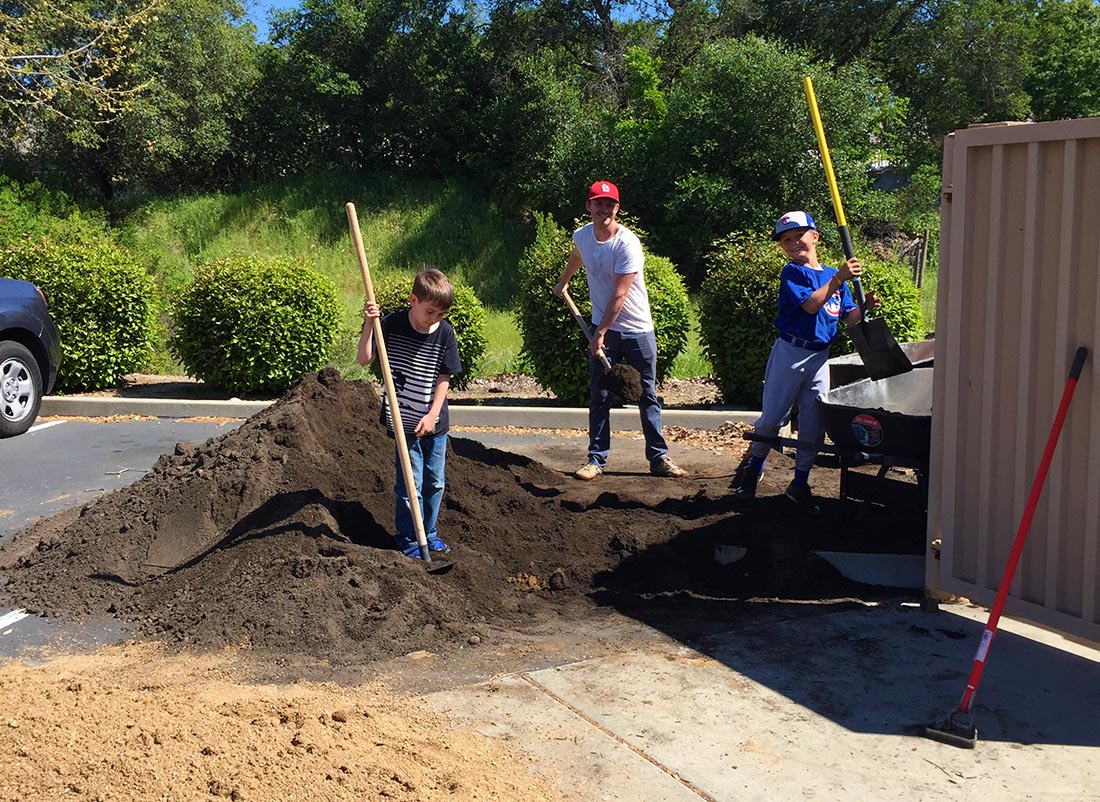
We let the beds sit overnight and returned the next morning rejuvenated! We added the remaining soil to the beds, packing it in as much as possible, and put what was left outside the beds for melons and other unruly vegetation. Simultaneously, the drip system was being assembled and installed. The drip system was tested, pizza was consumed, and everyone went home after a successful second day.
Plant.
Now, the fun part! To get everyone involved, we asked employees to donate plants and seeds. In doing so, we hoped to create a sense of ownership and ensure that we are only planting what we will actually use. Planting took the better part of Sunday morning, but it was more than worth it. Now, we get to watch as our garden grows and thrives for years to come!
